
Finally. The day has arrived. I hope you enjoy the photo tour of the vintage picnic wedding. See if you can pick out all of the pieces from the tutorials over the past few weeks.
The wedding was absolutely beautiful. The bride and groom were gorgeous.


(photography by this amazing photographer Netell Johnson)
Mom made the dress out of a lace skirt the bride found online. She altered the skirt and sewed the bodice. Somehow the fabric matched perfectly. Nothing that says vintage quite like lace.

And the sleeves were the bane of her existence for about 3 weeks. I think they turned out great. Don't you?

The beautiful wildflower bouquet was especially arranged with flowers from the neighbors yard about 10 minutes before the bride left for her bridals. Don't you love great neighbors?

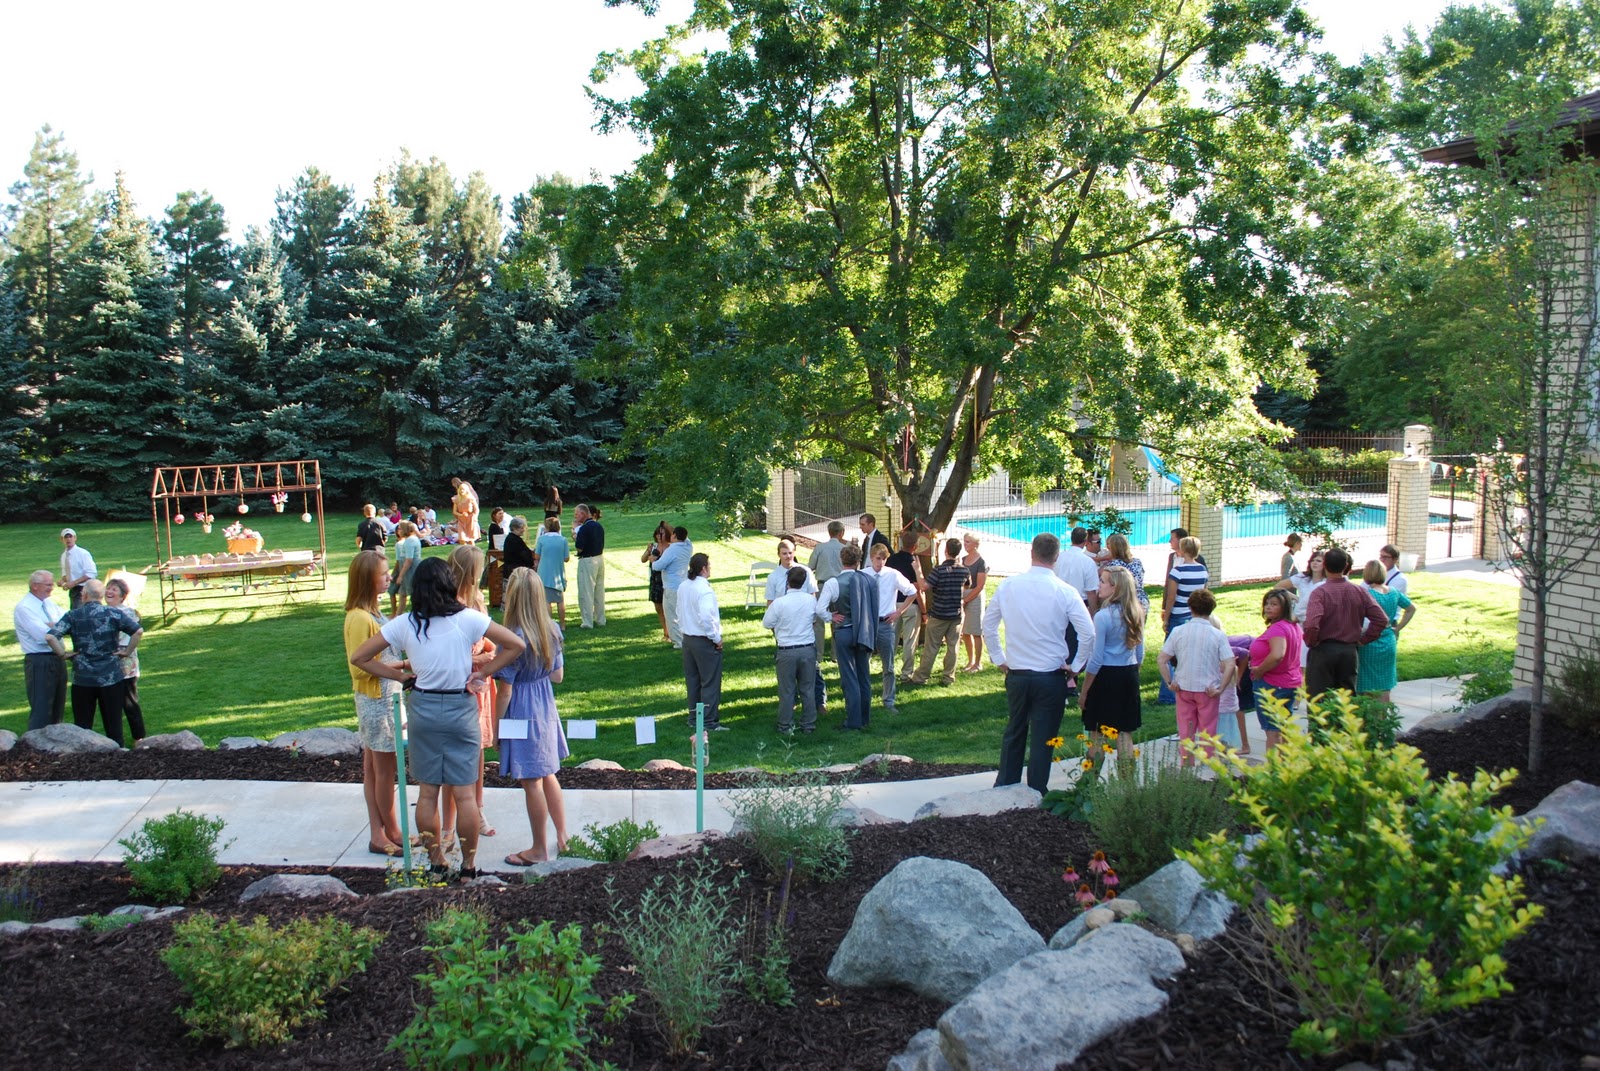
After a beautiful ceremony at the Salt Lake Temple, we scurried home to get the yard ready for the reception.
We used my mom's old antiques (many of which she restored herself) around the yard so we had plenty of places to put food and other things. Throughout this post, I will try and refer you back to as many tutorials as I can. In general, you can find tutorials for the mini banners placed on all of the furniture here, here, and here. The signs that are stuck in the ground throughout the yard were made here, and here.
As guests entered the yard, they came upon an old desk with the sign in book. A few pictures and some beautiful wildflowers instantly gave the place a vintage feel. (Tutorial for the bouquet vase bow found here.)

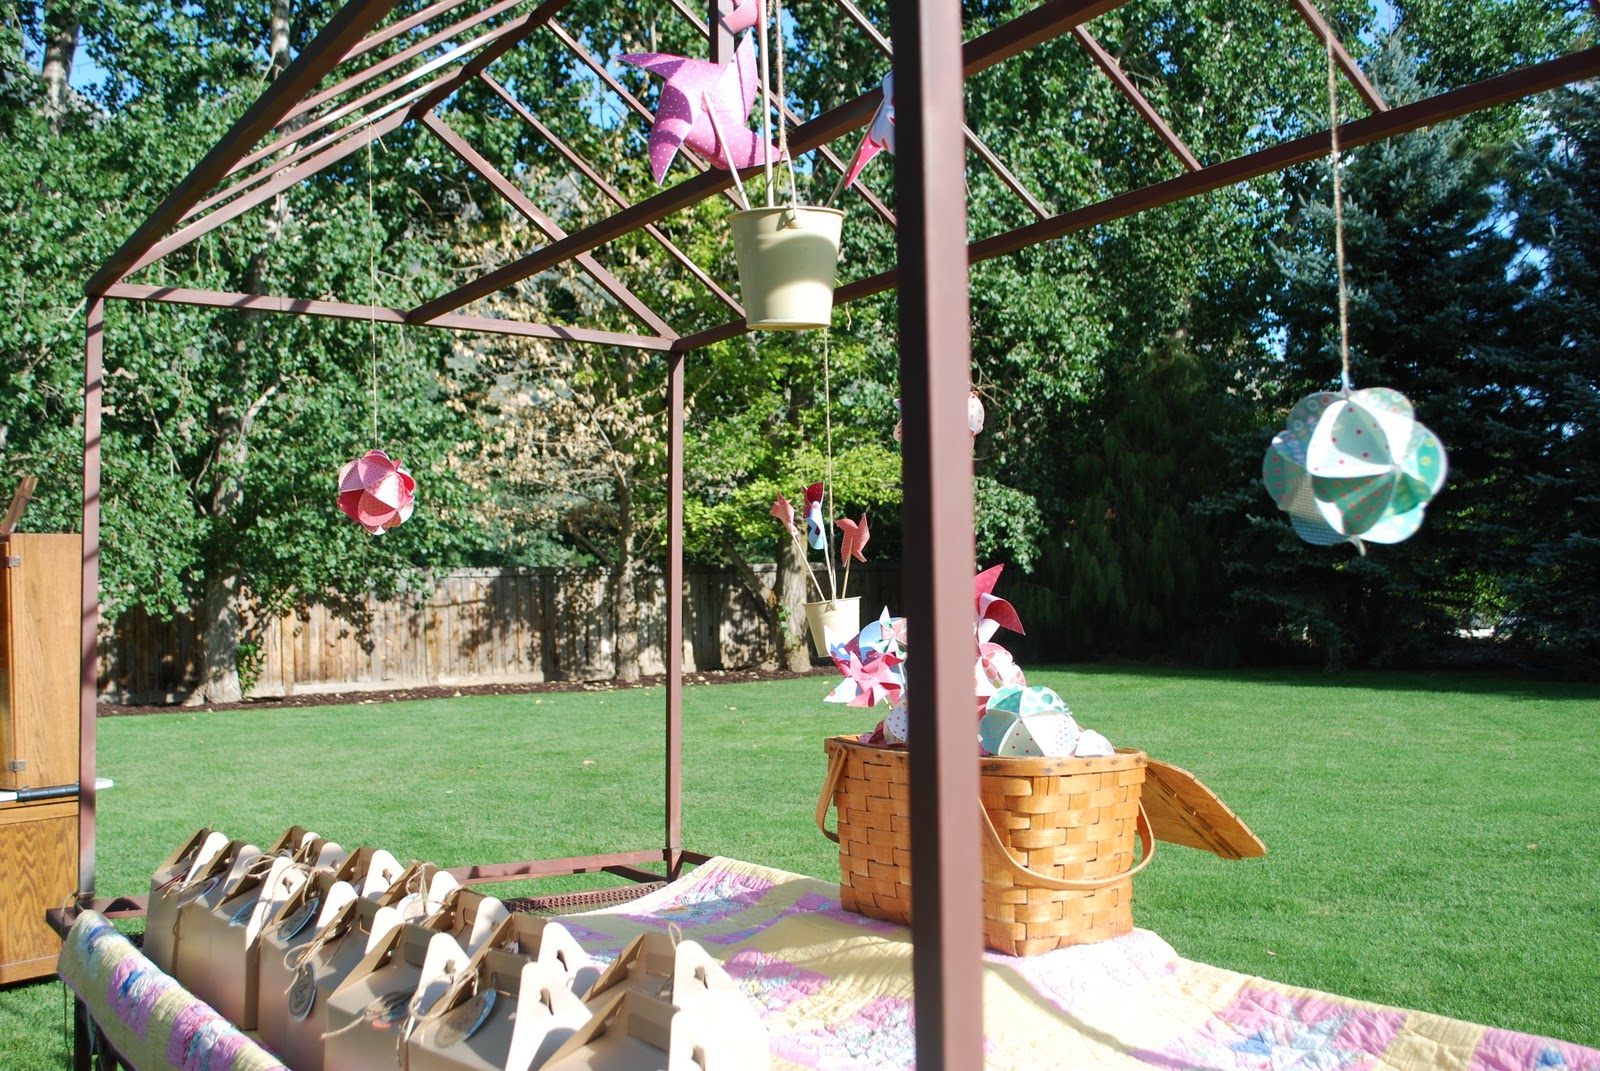
As guests followed the sidewalk around to the back yard, they came upon a place to leave gifts. The bench with an old quilt on the back looked great backed by some vintage doors. The old metal bike basket was a perfect place for the cards, and a few paper pinwheels in the flowerpot made the area feel whimsical.

The video of the bride and groom was on an old newspaper press dresser in the same area.

The small compartments were used to hold all of the newspaper letter stamps back in the day. We added a touch of color with a few words in each drawer (tutorial here).

Guests continued down the pathway lined with stakes holding jars with a candle inside.


Twine spanned between the posts and mini clothes pins held pictures of the happy couple.


The first and last posts had mini pennant flags attached.

The bride and groom stood underneath a large tree to greet their guests.

We hung yellow pots with flowers and jars with candles from the tree with ribbon.

The bride and groom sign was hung from a vintage looking door handle. It was attached with a small screw into the trunk of the tree.

After guests visited with the bride and groom, they made their way past the cake table. (tutorial for the cake and the toppers here.)

Next came a large, vintage, metal wagon (thanks to a different neighbor) with another vintage quilt on top. This was the perfect space for the boxed lunches (tutorial for the boxed lunch here and here.)

Pots with pinwheels and paper balls (tutorial coming soon) were hung with twine.
The drink table held pink and regular lemonaide and water.

Next came the watermelon table. Since watermelon would be difficult to keep dry in the boxed lunches, we opted for a seperate table.

Next came a sweets cabinent. A few vintage, glass vases and cups made this area fun. Pictures of the happy couple were placed among the salt water taffy treats.

And closeby, a cookie table with a lace table cloth held too many delicious choices.

And not too far from the cookie table were the picnic areas. A group of chairs and a jean blanket were grouped in small areas for people to eat on.

And by each set of chairs, a colored post with some pennant banners and a jar with a candle and a few pinwheels was pounded into the ground.

And the Mr. was always ready to set up a few more chairs if needed. We also had extra blankets on hand. (And yes, the Mr. was the only person at the reception to be wearing a hat and the bride and the mother-of-the-bride didn't care one bit. Hey, it was a picnic!)


The games were located on the other side of the lawn. Anything from ping pong to the trampoline, everyone had a blast.

And in between the food and the games was the dance floor. Large pennants hung from the deck to the pool gate to make the dance area (which would be heavily used at dark).

And after the Mr. and my brother shattered a large strand of party lights earlier that morning (don't worry, we swept twice and vaccumed the cement to be sure there wasn't any glass on the dance floor), we were thrilled that they got them hung with success.


So people ate....

...and ate...

...and chatted...
...and danced the night away...

...and then enjoyed a few fireworks, and sent the bride and groom off in a saran-wrapped car.
It was so much fun!
The next day, we left a huge mess in the house and headed up the canyon for some fresh air.
Boy did we need it!


