Monday, August 4, 2014

Giveaway over at The Quiet Book Blog

Hey guys! Check out the giveaway over at The Quiet Book Blog for my Bible Quiet Book Patterns. It started today and runs through next Monday, August 11th. There are three winners so be sure to enter!

Click here to enter.


Read More »

Saturday, July 12, 2014

Baby's First Christmas Felt Ornament

Christmas in July? What? 


Deby at So Sew Easy is doing a fantastic felt ornament series in July. Check out her adorable felt Christmas tree.


So cute right?
I absolutely love working with felt. (Check out more felt creations here). It doesn't fray, and you can even trim up the edges to make sure everything is even once you are done sewing with it. Takes a little pressure off!

So...
I was thrilled when Deby invited me to join the series. I decided to post a tutorial for a baby's  first Christmas ornament (No...this is not an announcement!!!!). 
Make it blue, pink, yellow, green, or whatever color you want. 

Are you ready? These instructions are for hand sewing but if you think your little one will be playing with this a lot, you might consider machine sewing it.

First, save the picture below and print it out on an 8.5 x 11 piece of paper with no margins. 


Cut out all of your pattern pieces.


Take the tail and tie a little knot in the end.


Now place the little hearts on the elephant's tush. Make sure the elephants are mirrored when you start placing the pattern pieces.


Add the elephant ear.


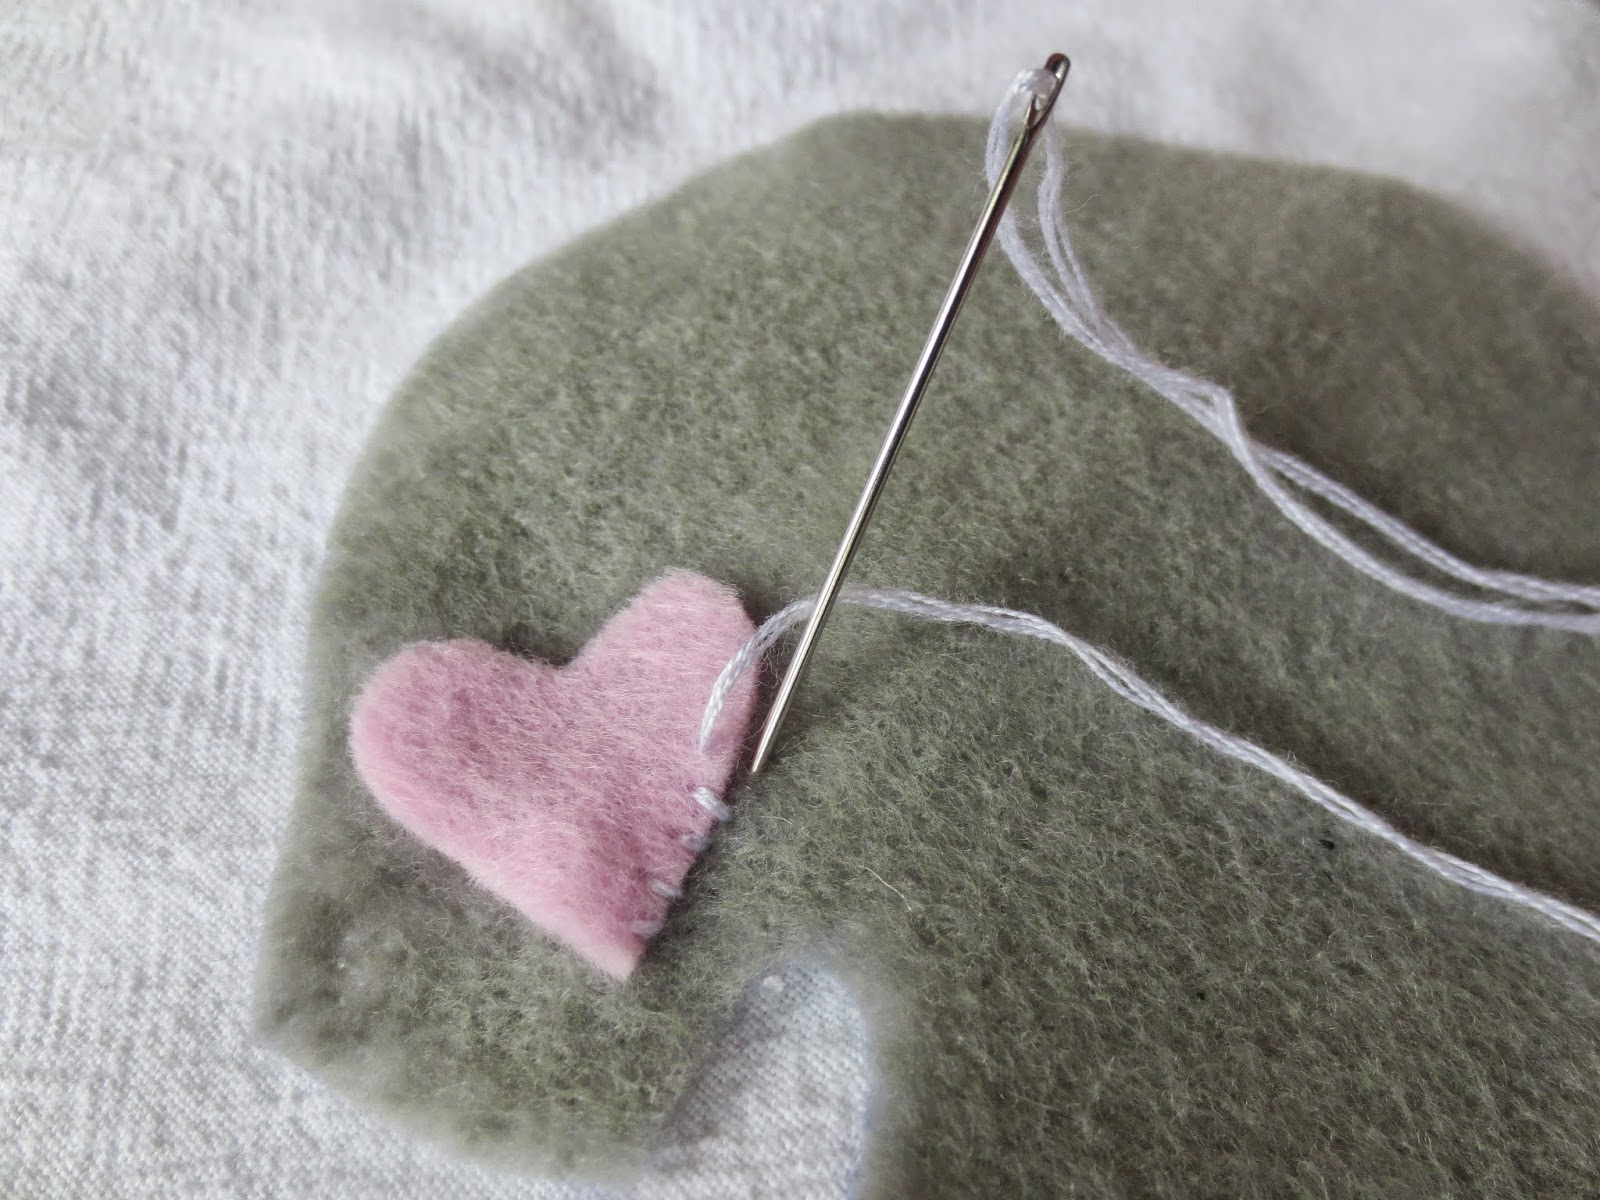
Thread some white embroidery thread onto a needle. I used three tiny strands. Then knot the end.


Now, push the needle through the grey and pink felt from the back to the front near the tip of the heart. Pull the thread tight and make sure the knot catches in the felt and doesn't pull through.


No stitch through the grey felt by pushing the needle back through to the back. Pull tight. 


Continue the same pattern until you have sewn around the whole heart. Create a knot to hold the thread.


Now stitch the year of birth onto the little heart. You can freehand it, or use a pencil to lightly sketch the year. I decided to do an apostrophe and the last two digits of the year: '14

First, push the needle from the back to the front.....


And then back into the felt.


For the next stitch, push the needle up through the middle of the last stitch you just made.


And continue until you have finished the year. Secure the thread with a knot on the back.

Now stitch around the edge with a straight stitch. Be sure to sandwich the tail and the loop in as you stitch. Before you stitch the whole thing closed, add some stuffing. Then finish stitching around the edge and tie the thread off. 


Using black thread, sew on an eye on each side. 


And you did it!


Merry Christmas in July!

To check out other felt creations I have made, click here.
Read More »

Tuesday, June 24, 2014

˚recipe˚ Chicken Avocado Alfredo Noodles

Whenever I do our big, weekly grocery shopping trip with Little Man, I come home exhausted. I think it is all the entertaining I have to do to keep the little guy in the cart. And I usually grab the wrong thing for a few things on my list. Crushed pineapple instead of chucked; diced tomatoes with herbs instead of plain diced tomatoes. The Mr. thinks it is kind of funny. I will be a huge mess when I have more than just one little kid to juggle.

Anyway, on those days, I like something fast and easy for dinner. That is where this meal comes into play. (Other quick meal ideas are here, here, and here).


And sometimes I even leave out the chicken (if I need something really easy). 

To make it, boil some water and get your noodles cooking. Then brown some chicken.


Cut up two tomatoes and an avocado into chunks.


And mix it all together with some of your favorite Alfredo sauce. Add some Parmesan and dig in. 


And you might enjoy this meal a little more knowing it was super easy to make.


As always, don't forget to check out where I party!
Read More »

Monday, June 16, 2014

tutorial: An Easier Apron (from a dish towel)


Do you remembethis tutorial to make an easy apron from a dish towel?


Well, how about an even easier apron from a dish towel?


To make this one, find a large dish towels with a cute pattern and get some matching ribbon too. Make sure the pattern doesn't need to face a certain direction. We are going to be using this dish towel horizontally instead of vertically like the last one. Find the top middle of your dish towel and place a pin there. 


Now work outwards and make small tucks with the fabric to create some pleats. Just fold the fabric over itself about 1/2 inch and pin. If you want to measure and be fancy like that you can. I just eyeballed it. Place a pin at the top of each pleat to hold it in place. 


Can you see the pleat below?


Take your ribbon and pin it where your center pin was. Make sure that the top of the ribbon matches the top of the dish towel. Continue working outwards until you have pinned the top edge of the towel. Make sure the ends of the ribbon are long enough to wrap around your waist and tie in a bow. 


Now sew along the top edge of your ribbon using the same color thread as your ribbon. Make sure you catch the pleats in your stitch.


Then sew along the bottom edge. 


Seal the ends of the ribbon with a match or lighter (just like you did here). And try it on. Cute and quick!


Now go make something yummy. Like these, or these!

And don't forget to check out where I party!
Read More »

Friday, June 13, 2014

Excuses: Sitting on Cannons

We have been partying all week with Grandma and Grandpa which apparently involves sitting on cannons! What have you been up to?


Enjoy your weekend. See you next week!
Read More »

Friday, June 6, 2014

tutorial: An Easy Apron (made from a dish towel)

Are you an apron person? I am not. 

Surprise!

 But I was asked to come up with a few apron tutorials for a women's activity. They had to be easy enough for a non-sewer to complete it with a little guidance in about 30 minutes.  So here is the first one. 

The most complicated. ;)  It involves sewing two straight lines.


You will need a dish towel that is big enough to be an apron. I suggest taking a few measurements before heading out to look for one. They often are packaged so that you can't unfold them and hold them up to check the size. You will also need ribbon. 


Fold the dish towel  in half and mark the middle of the towel at the top (the pin should be right under your chin....it is the black pin in the picture below). Then measure out from the center a few inches on each side and mark it with pins (the red and white ones below). Now hold it up to yourself again and make sure it is a width you like on the top.


While you are holding it up against yourself, mark where you want it to hit you on the waist. Then draw a line between the top side marks and the mark on your hip.


Calculate where you need to trim the towel. Measure out from the line: 2x the width of the ribbon you have + 1/4 inch + 1/8 inch. Mark it.


Cut along the line you just made to trim off of the corners of the apron.


Fold over the edge 1/4 inch and iron.


Then fold over the edge again and line it up with the first diagonal line you made. Sew along the edge (staying nice and close to the edge) to create a casing for the ribbon. Leave the two ends open so that you can string the ribbon through it. 


Start at the opening near one hip and string the ribbon up towards the top of the apron. Connecting a safety pin to the end of the ribbon while working it through helps a lot. Then go back down the apron on the other side. Leave room in the ribbon for it to loop around your head. Seal the ends of the ribbon with a match so they don't fray.


And you're done!


How was that for an easy apron? Come back soon for an even easier apron tutorial. Is that even possible?

Don't forget to check out where I party!
Read More »

Wednesday, June 4, 2014

tutorial: Easy and Quick Jingle Bell Instruments

Mr. Candid and I are in charge of the 18 month-2.5 year olds at our church for two hours. It is actually quite exhausting and completely fun. At the end of our time together we have a singing time with someone who comes in. During music time, she gives each child a little flashlight and we turn off the lights and sing Twinkle, Twinkle, Little Star; I am like a Star; and This Little Light of Mine. Little Man talks about it all week. He loves it. 

Since we have such a long time together, I decided that we should do a different music time. I wanted a few little musical instruments, so I made some egg shakers and these quick and easy jingle bells.


I tried it out last week and the kids loved it. (And it helped to break up all of our time together).


To make the jingle bells instruments, I purchased two small dowels and a bag of 48 jingle bells (6 mm) at Joann's. This made enough for 12 instruments. I already had the pipe cleaners. The total cost for all of it was about $5. 

To make the jingle bell instruments, I sawed the long dowels into 6 pieces each. They were really easy to cut. Then I lightly sanded the bottom and top to make sure that there were no sharp parts. 

Then I drilled two holes in the top. I used a drill bit that was just big enough to fit a pipe cleaner. The first hole was about 1/2 inch from the top. 


Then I turned the dowel 90 degrees and drilled a second hole about 1/4 inch from the first one. Can you see the two holes in the picture below?


Then I strung about 4 inches of the pipe cleaner through the bottom hole and strung two jingle bells on it. 


Then I wrapped the pipe cleaner around to poke it through the top hole. 


And I pulled both sides of the pipe cleaner tight.


Next I strung two bells onto the end of the pipe cleaner.


And pulled those tight too.


Then I took the two ends of the pipe cleaners and twisted them together to secure the bells well.


Then I began wrapping the pipe cleaner around the dowel underneath the bell. I made sure to tuck the poky end underneath.


Then I crossed over and wrapped the pipe cleaner around the dowel above the bells.


And tucked the end underneath.


Finished!


And then I did it a few more times!


If you need an easy, fun project for the kiddos this summer, try these out! Then dance the long summer days away with your new jingle bell instruments!


Stay tuned for the egg shaker tutorial and don't forget to check out where I party.
Read More »
Related Posts Plugin for WordPress, Blogger...