I took a little trip here recently.
Yes my friends. That is Hawaii. And oh what a vacation it was. Thrifty...mind you, but so relaxing and beautiful. Just what I needed.
But before I make you all too jealous, I wanted to share a quick (easy) tutorial to make a weekend (or vacation) skirt out of a men's knit t-shirt.
Before our trip, Mr. Candid and I went through our clothing to donate what we no longer wear (something we do probably a little too often). When he threw this green knit t-shirt in, I managed to snatch it before everything thing else was gone forever.
And I turned it into this:
And wasted only a few scraps in the process.
Want to make your own?
First, find a shirt that is wide enough to fit around your waist. I think mine was a men's medium. Cut the basic shape of the skirt by cutting off the sleeves as close to the seam as possible. Continue about 1/2 way down the shirt until you get a shape similar to this one:
Cut along the top shoulder seam to separate the front and the back:
Now pin (with the right sides together) along the sides of the shirt like this:
Use a knit stitch (or zig-zag stitch) to sew along the sides.
Now slip the shirt on and fold over the top like this. Mark where you want the top of your skirt to be. (aka: where the fold is in the picture)
Take the shirt off and chop off the top.
Put the skirt back on, and figure out how much needs to be taken in on the sides to fit well.
***TIP: knit stretches, so take that into account. You will want to make the waist is tighter than you think it should be. If all else fails, you can always take it in later. Just remember when you wash the knit again, it will shrink back up!
***TIP: knit stretches, so take that into account. You will want to make the waist is tighter than you think it should be. If all else fails, you can always take it in later. Just remember when you wash the knit again, it will shrink back up!
Put in a pin so you know where to sew.
It will look like this once each side is sewn.
Now trim off the extra.
Now its time to embellish. I took the scraps (i.e sleeves) and cut them into strips 1-2 inches wide.
When I pulled on the scraps, one of the sides curled like this:
***TIP: As you plan your embellishments, remember that once the skirt is washed, the knit will curl up like this:
I put the two sides that curled together and pinned them.
Then I sewed across them...
To make one really long strip.
Play around with the strip before you sew it on to see what you like:
If you like more of a gathered strip, sew a basting stitch (straight stitch with a really long stitch length) along the entire strip. Carefully pull one of the threads (either top or bottom) to cause the fabric to gather.
From there you can make a ruffle along the bottom of the skirt:
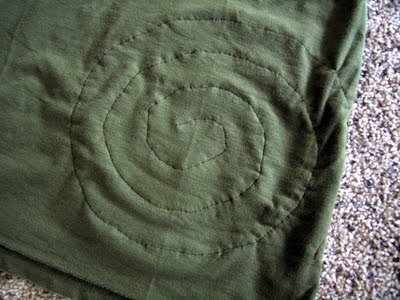
Or a really big flower. Whatever you choose, pin the ruffle how you like it...
And sew along the ruffle.
***TIP: Be careful not to sew over any pins!
This is what it looks like from the back:
***TIP: Since knit doesn't fray, there is no need to finish the top, but you can it you want to!
And that's it! Now throw on your new skirt and go have a little fun.
And I will say that this little skirt saw many many beaches in Hawaii. Lucky thing!
**I didn't include a picture of me wearing the skirt because I was lazy. That's right folks. LAZY! I will try and get one up here soon!


VERY cute and resourceful! :)
ReplyDelete